- Girassol Fotografias
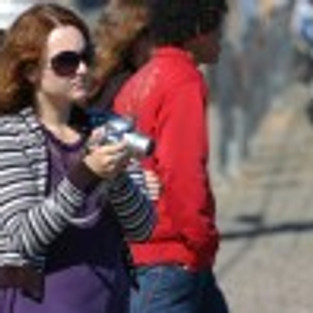
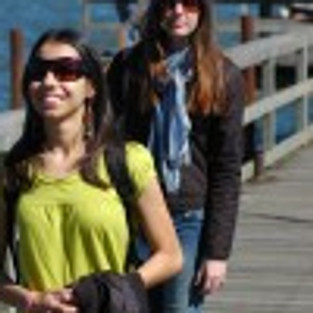
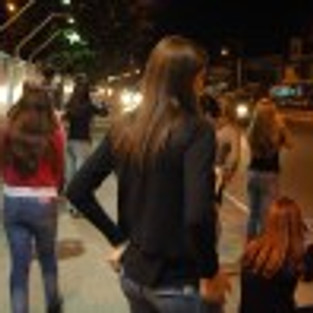
No dia 16 fizemos mais uma saída de campo com a segunda turma de fotojornalismo. A temperatura em São Francisco do Sul estava muito agradável para caminhar e fotografar. Abaixo o making of pelo professor Robson Souza:


No dia 16 fizemos mais uma saída de campo com a segunda turma de fotojornalismo. A temperatura em São Francisco do Sul estava muito agradável para caminhar e fotografar. Abaixo o making of pelo professor Robson Souza:
Depois de algumas semanas estudando a teoria da fotografia em sala de aula, os alunos do 4º período de jornalismo aplicam a teoria na prática. Usando diversos tempos de exposição do obturador, e abertura de números “F”, alta sensibilidade (ISO), profundidade de campo, os alunos em atividades na rua, ao lado da universidade na Contorno Sul colocaram as mãos na massa, ou melhor, nas câmeras aplicando o que aprenderam em sala de aula. Fizeram algumas fotos de veículos em movimento borrado, movimento congelado e varredura (panning). Essas técnicas ajudam ao iniciante em fotografia a ter mais agilidade no manuseio do equipamento e na criação de uma foto com uma boa composição (na regra dos terços). Veja o making off produzido pelo monitor do laboratório de foto, William.
Forensic Photoshop Tutorial – Sharpening in LAB mode I’ve received a few e-mails from folks asking for a demonstration on sharpening in LAB mode. With this technique, we are going to be targeting just the Lightness Channel – affecting only the lightness values in the image.
In today’s image, detail is important. In a structural failure such as this, I want to highlight the sources of that failure. In this case, the bridge’s details, the torn and twisted metal, the bent rebar, and the broken concrete all have a part to play in the telling of this story. I also want to make sure that the items in the water receive attention.

To begin, work the image as normal (focus correction, global light/colour, local light/colour) until you come to the Creative Sharpening stage. If you’ve performed the previous corrections in RGB, save the layered file before moving into LAB mode (Image>Mode>Lab Color). If you moved to LAB mode before making the initial corrections, continue on.
I mentioned earlier that we will be working with the lightness values only. Here’s how it works:
Press Ctrll+Alt+1 to select only the lightness values.
Invert the selection – Shift+Ctrl+I.
Click Ctrl+H to hide the selection.
With the Channels Palette open, select the Lightness Chanel.

Selecting the Unsharp Mask filter (Filter>Sharpen>Unsharp Mask) brings up this dialog. For today’s image, I’ve used Amount=150, Radius=3, and Threshold=2. You can toggle the Preview button on/off to preview the results.

When you’ve finished applying the filter, click Ctrl+D to deselect the lightness values (remember, you hid them earlier). Continue on with the workflow (saving as necessary).
When you are finished, you’ll see that the difference can be quite dramatic.

Try this one for yourself. You’ll be glad you’ve added LAB sharpening to your tool box.
Fonte: photoshopsupport